External Tanks.
When I first installed the King Off-Road front shocks, I wasn’t happy that the mounting brackets positioned the external reservoirs towards the forward part of the front fender, just behind the fender liners. This means they’re hidden.. but I didn’t want them hidden! About a month later it started with this:
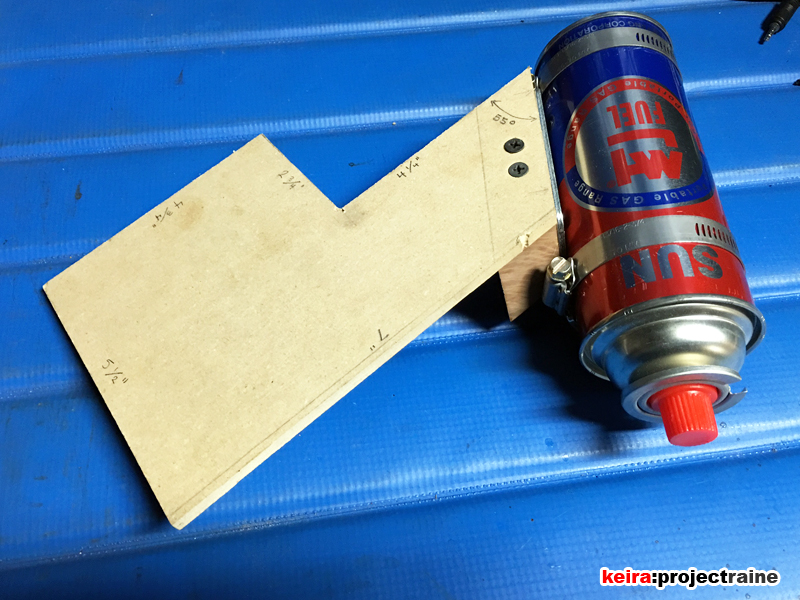

And then nothing… until a year later when finally, I had this:

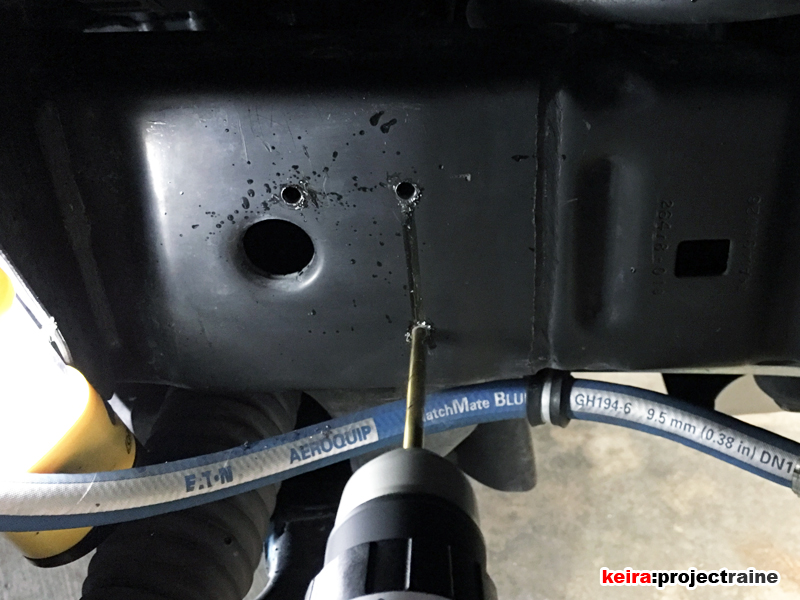
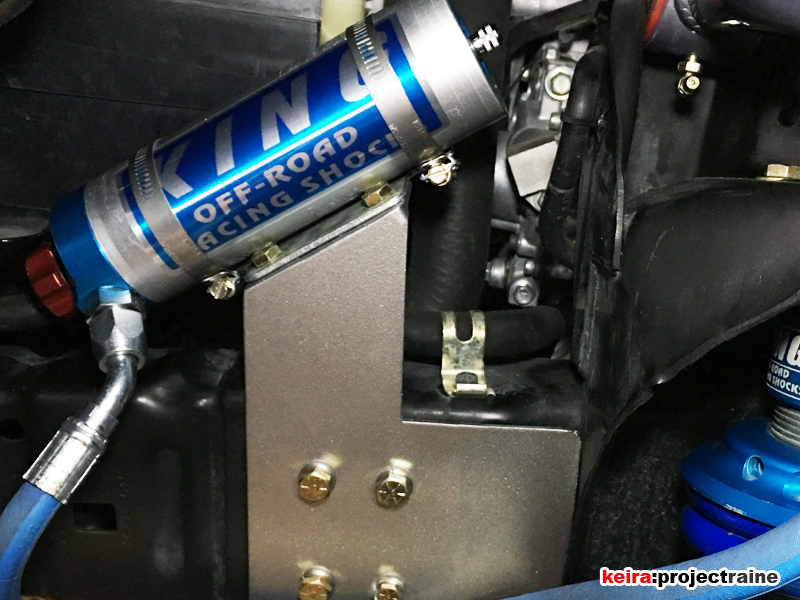
So finally I decided to finish the idea/project with what I had. I had this whole plan where I’d get the brackets welded to the frame rails, then I realized that if ever I had to get to the alternator, the right side bracket would block access. The best way would be to bolt the brackets onto the frame rail, which meant drilling into the frame and tapping the holes (due to the fully boxed frame rail). This whole process took a few days to do, starting with a couple hours of daylight after work during the week, and then finishing up last Saturday. First part of this mod involved a lot of drilling, starting with getting the reservoir holders attached to the bracket:
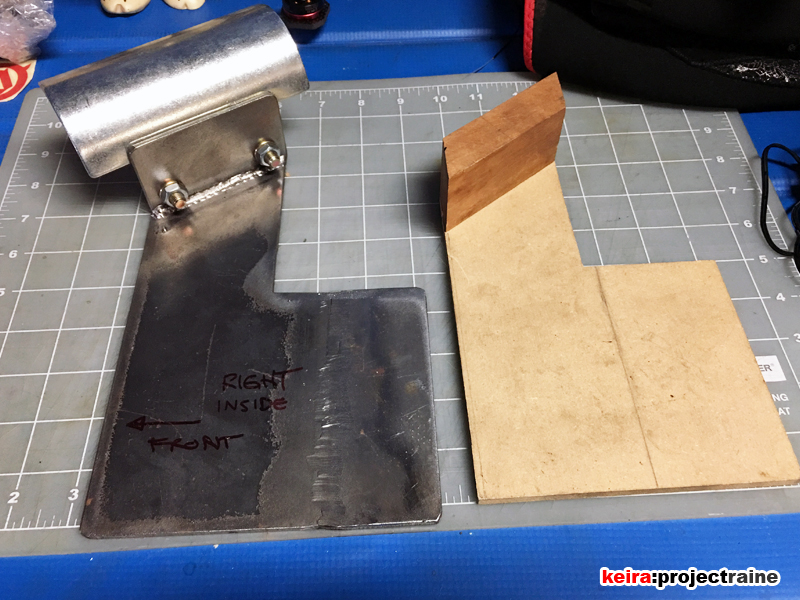
Turning to the chassis, I marked the holes using the brackets as my template, drilled the holes, then tapped threads into the chassis rail for 3/8”-20 bolts. I used a cordless 20v drill, titanium drill bits, and this amazing stuff called “Tap Magic”. I stumbled upon it at the hardware store when I was buying some stuff, it’s cutting fluid and just one drop made drilling metal much easier. Okay picture time:


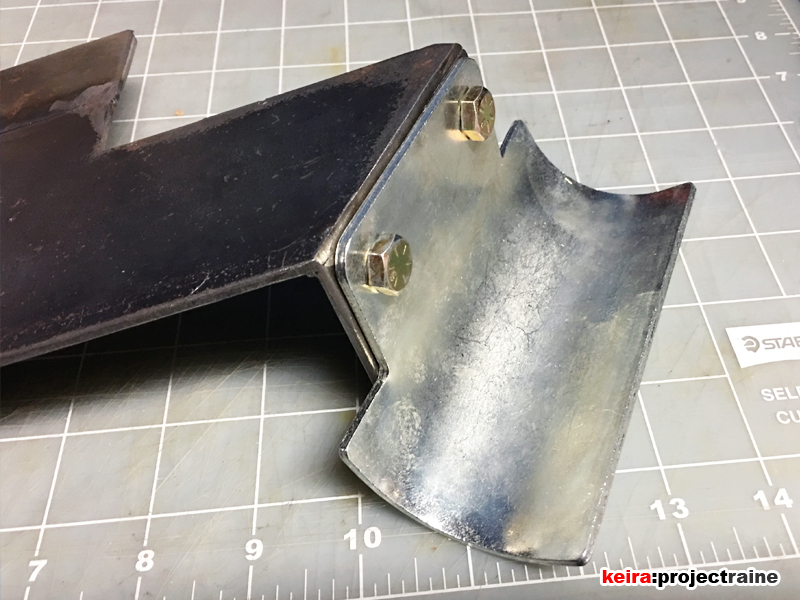
Looking at the image above, I realized that the small hose clamp at the bottom was attached to the bracket provided by King, which meant that I’d have to figure out a new place to put the hose clamp since the King bracket won’t be there anymore when I remove it.

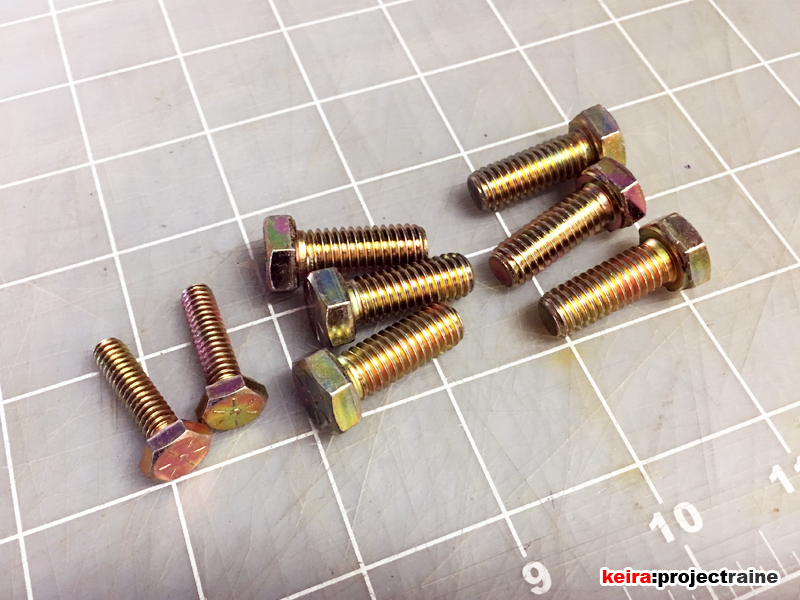
Next – I picked up some more Grade-8 hardware and drilled and tapped a 1/4” hole into the bottom part of the new bracket. Instead of trying to match the threads in the chassis rail, I drilled a larger hole (3/8”) hole into the chassis rail for the back of the hose clamp bolt to clear.


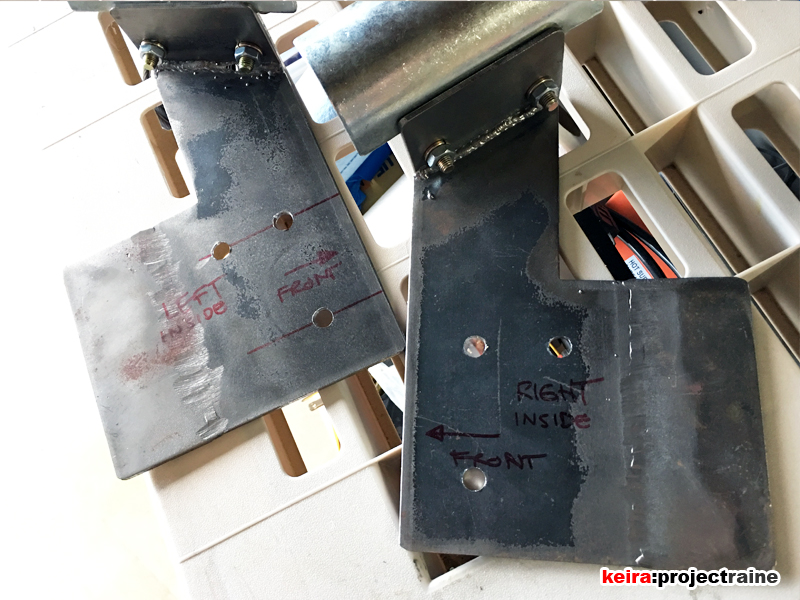
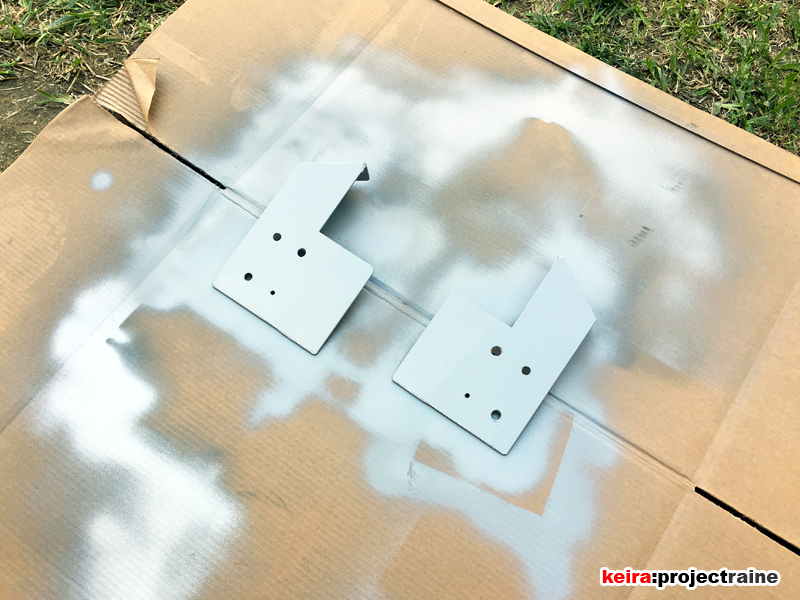
The hose clamp bolt is actually threaded into the bracket, not the chassis rail behind it. The hose is clamped in a specific spot to hold the hose in its position, so if I ever have to unbolt the bracket I can do so without disturbing the hose clamping position. With this done, next I painted the new brackets, then installed everything including the inner fender liners:
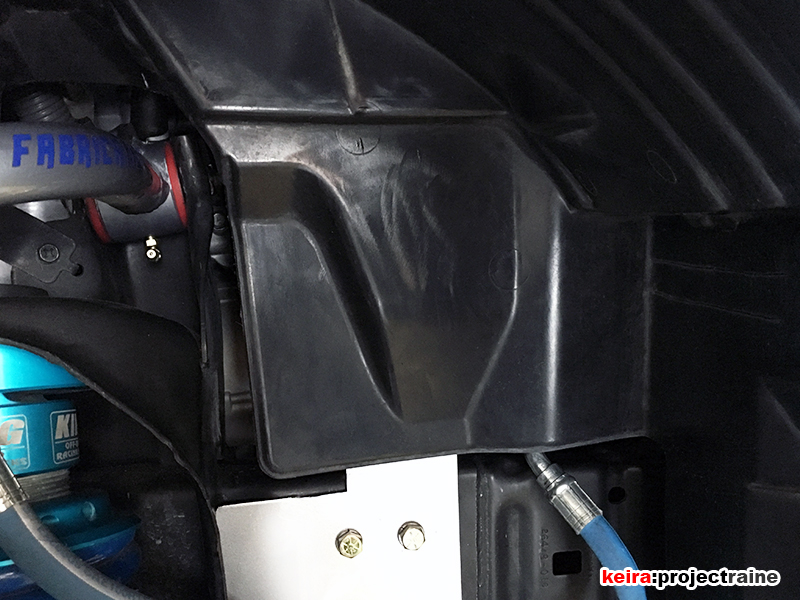
As the final touch, I still wanted to keep my inner fender liners. After temporarily installing the fender liners (above), I eyeballed where I needed to cut and brought out the trusty Dremel. (Next few pics go back and forth between left and right sides):
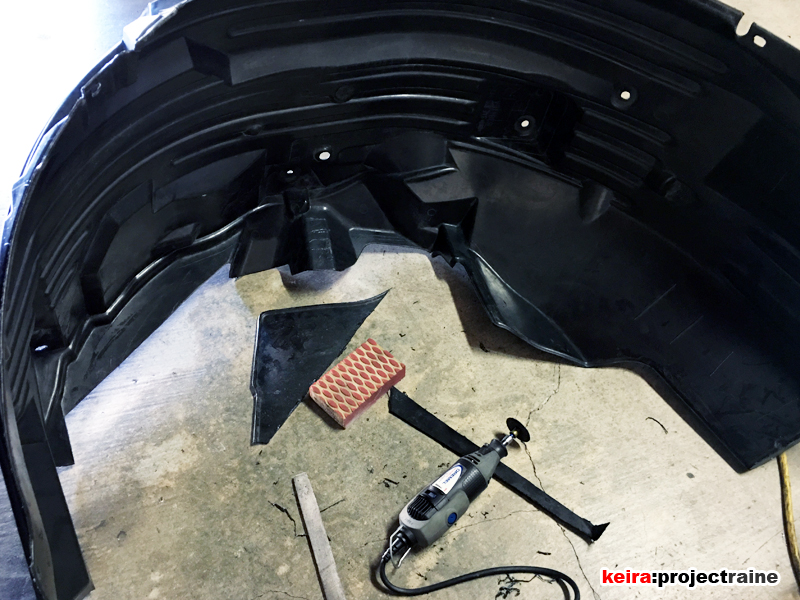
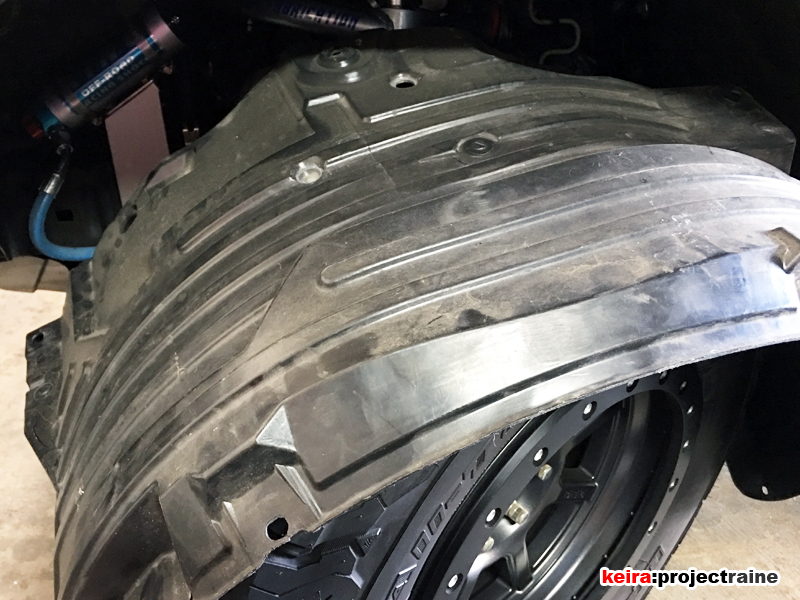

After trimming the fender liners just right, I was finally done:
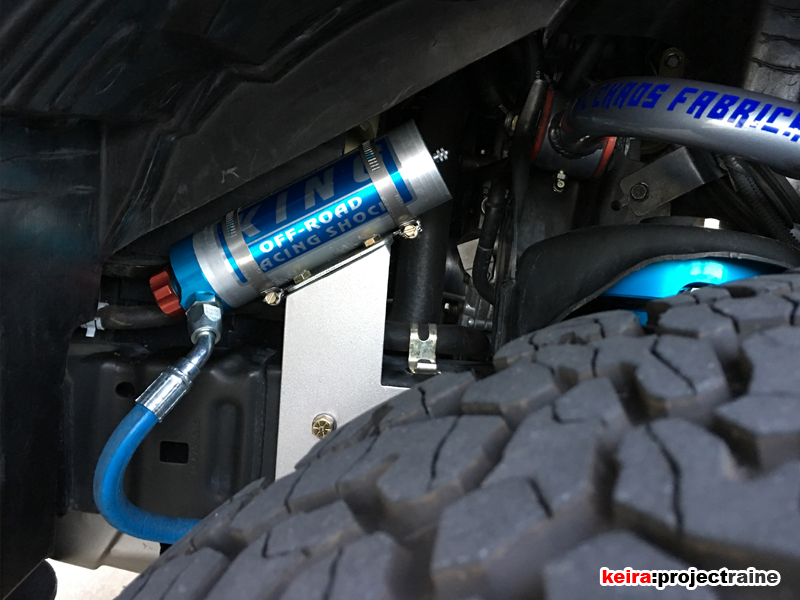

So mission completed, albeit a little over a year after I first thought about doing the mod… and then after about a week, I really wasn’t feeling the silver after all, so I resprayed the brackets matte black:
