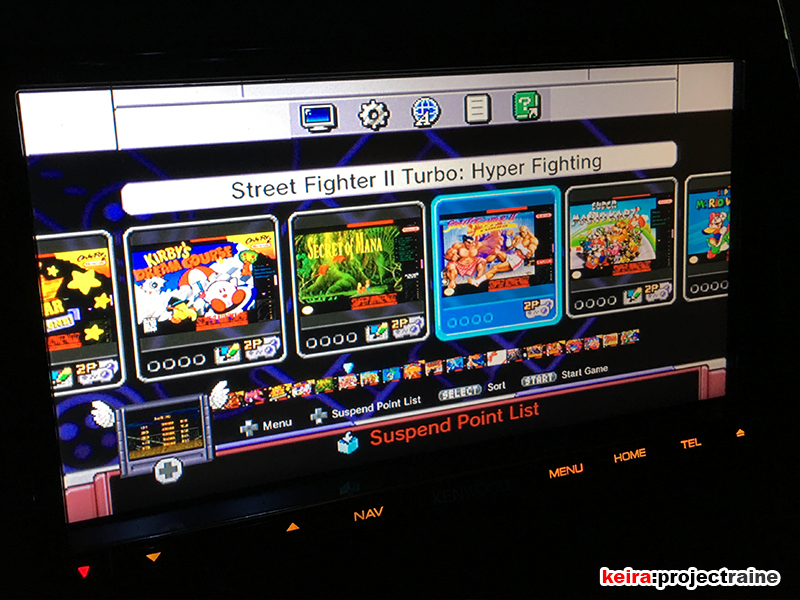
Retro Gamer.
Had some time to kill this weekend so I decided to finally do a Super NES Classic install. Since the console was small enough I was pretty sure I could figure out how to install it in a semi-permanent fashion:

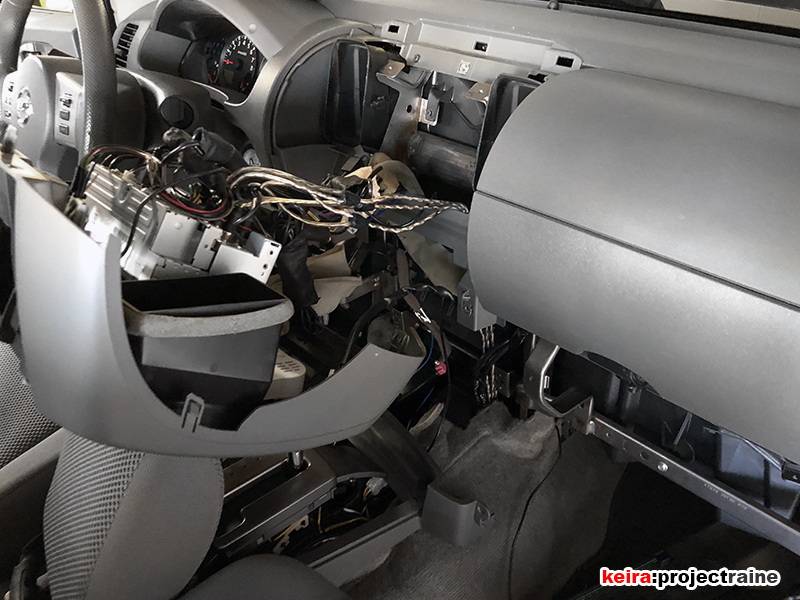
Since I wanted a more permanent, transparent install the main thing I had to do was relocate the HDMI+USB extension, which were currently in my upper 12v spot externally:

…which meant, yeah – time to pull the center console and dash again:
With the HDMI+USB extension removed, I now had a blank hole in the lower console. No problem – in their place I was going to install a 2xUSB extension:

The 2xUSB extension was from the same brand as my 3.5mm+USB extension in the second 12v location so the shape, size, and cover matched perfectly:

The cable end of the extension was plugged into an Aukey High-Power Dual-Port charger, which was in turn plugged into the OEM 12v receptacle that I hid behind the dash. I did it this way instead of hard wiring just in case I decide to change things up again (which often happens). Unfortunately I forgot to take a picture of this, so here’s a photo of the 12v charger I used:

With the 2xUSB extension in place, I did a quick check with a USB tester, and all was good so far:

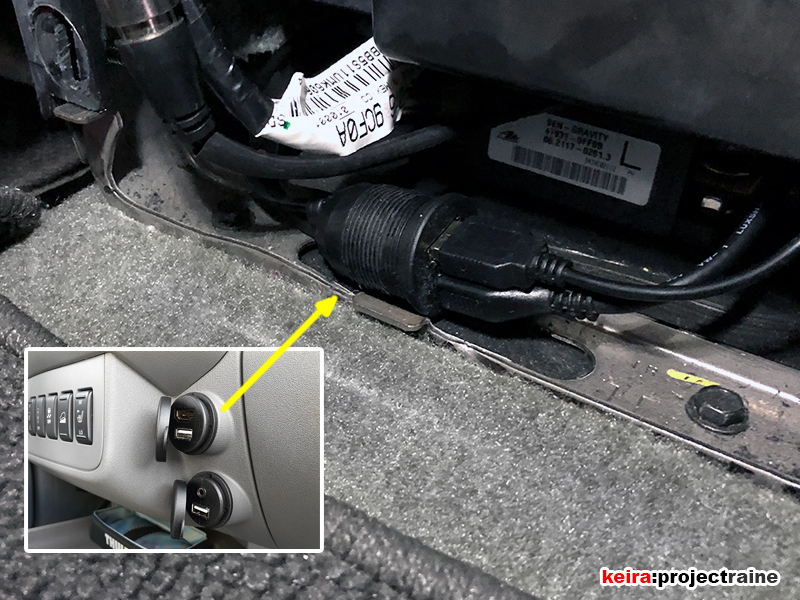
Switching to the back of the cabin for a moment, I now had to run some new HDMI and USB cables. The plan was to install the SNES Classic console somewhere behind the rear seats, so that if I needed to I can easily pull the console without having to disassemble things. Since I had the center console still out of the vehicle, I used fish tape to snake both cables under the rear part of the carpet, from the back of the cabin to the center console area:

Now back to the HDMI/USB extension – I ran the cables along the center console area, and positioned the ports just at the rear of the center console, just behind where the rear cup holders would be. One end of the new HDMI and USB cables plugged into the extension. With this done, I could put the dash and center console back into the truck and button everything up:
The reason why I only got to doing this install now was because I needed wireless controllers in order to have a hidden install. These came in the form of 8Bitdo SN30 2.4gHz Wireless SNES Classic Controllers, which were a reasonable $25 each. I finally got around to ordering a pair for two player action:

Last but not least – installing the console itself. Staying with the “easily removable” idea, I installed the console in the back of the cabin, just underneath the left-side passenger seat. This kept it hidden, but easily accessible if I wanted to remove it for outside use:

And that’s it – I now have a semi-permanent, hidden SNES Classic installed in the truck for passenger entertainment. Game on!