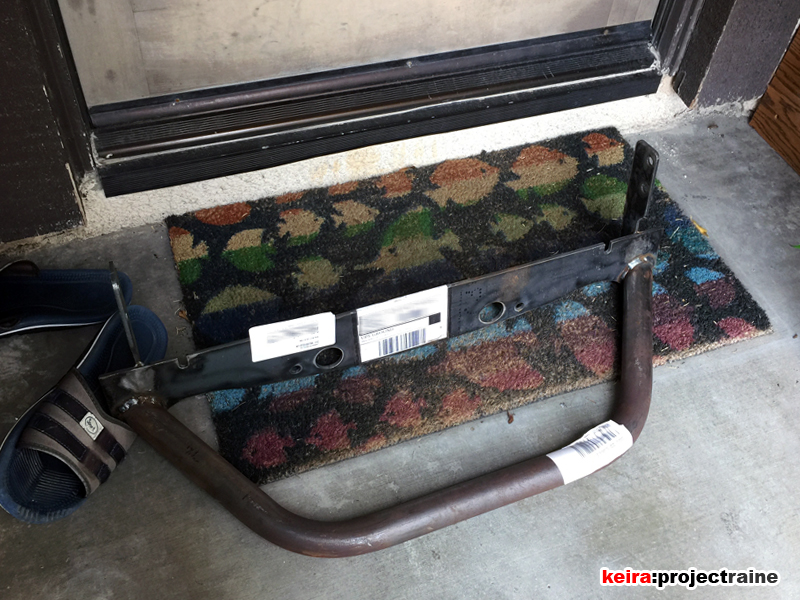
A Steel Rhino.
After about 3 weeks (including returning the first delivery because it was the wrong version) my White Rhino light bar finally arrived. I didn’t mind having to get the bar swapped, after all Chris at White Rhino was easy to talk to about the situation, got a second bar shipped right away and even paid for return shipping for the first bar they sent.
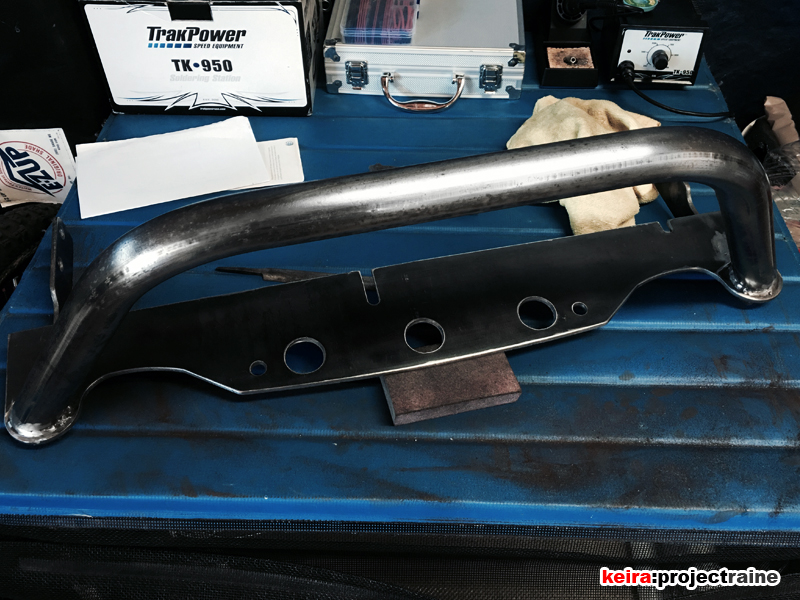
Step one was to fit the bar and mark the holes for the side brackets. The center plate of the bar has three slots which correspond to three panel clips on the underside of the bumper. If you remove the clips, you can use regular hardware to attach the White Rhino bar to the bumper. I went with 3 pairs of 1” long grade-8 3/8” bolts and nuts. The slots let me get the bar aligned perfectly in position how I wanted it.
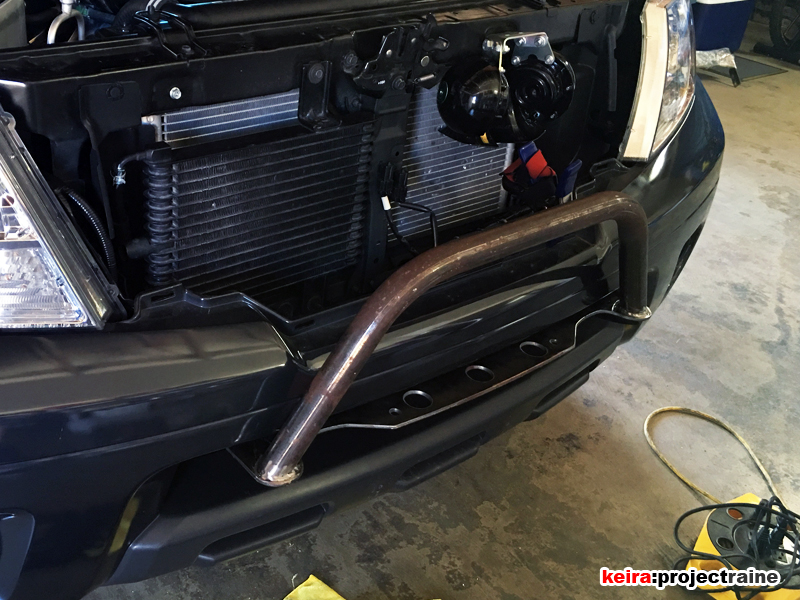
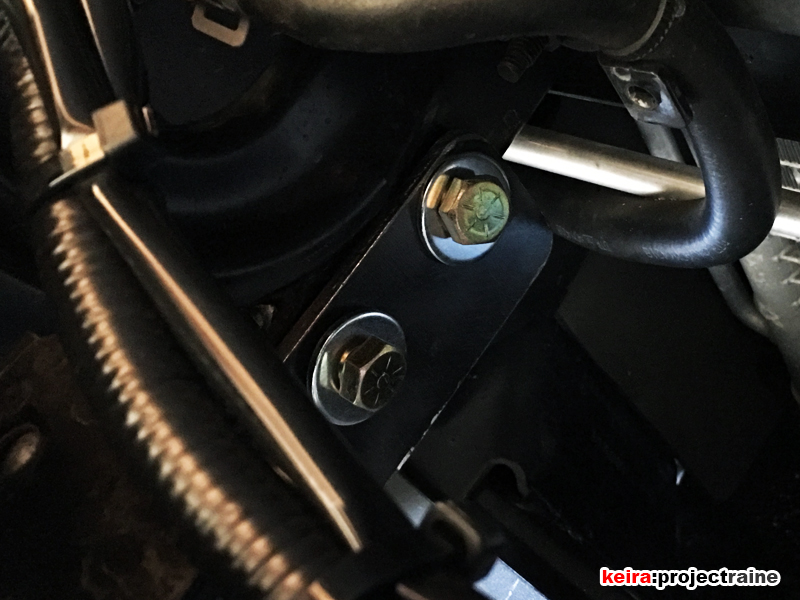
Next I marked the side bracket holes (which are meant to bolt onto two radiator braces) and drilled 5/8” holes. Side note: on the left-side radiator brace there is a small “bump” in the metal that has to be ground down flat with a Dremel in order for the light bar bracket to sit flush with the brace.
After drilling the new holes I put some black paint on the hole edges afterward to help prevent rust. I also used grade-8 hardware here as well. With all 7 mounting points bolted down I could lift the front end of the truck a little using the bar itself, with the bar and the brackets showing no sign of bending whatsoever.

Right about now my PIAA lights were delivered, so I temporarily bolted them onto the bar to make sure everything clears, which it did.
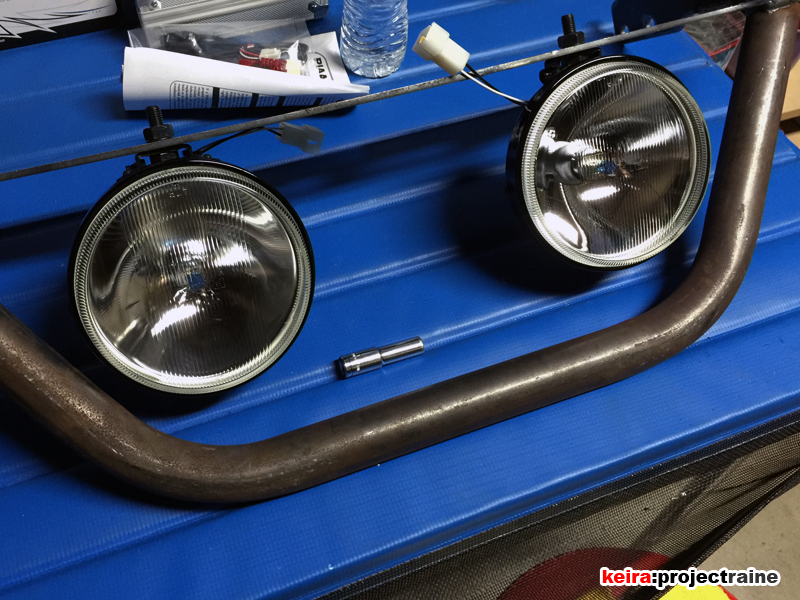

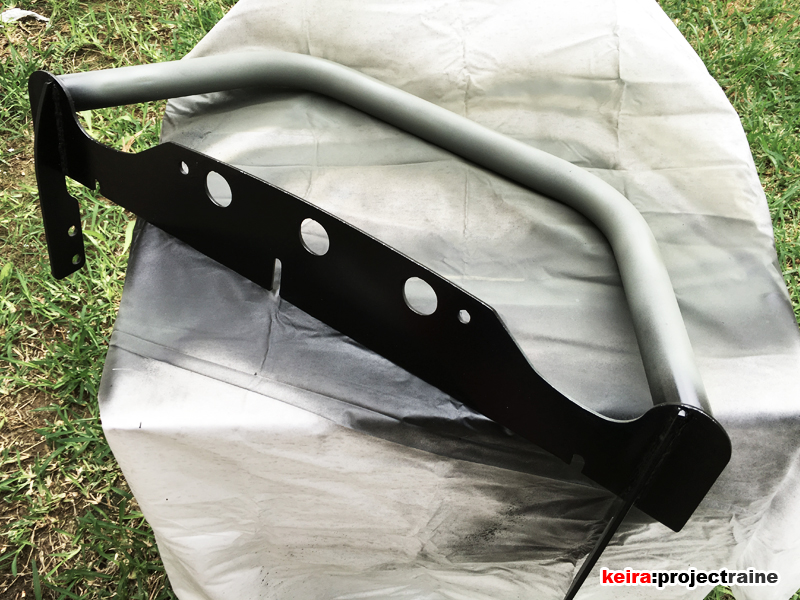
With the fitting portion of the installation confirmed, I removed the PIAA lights and I hand sanded all of the surfaces of the light bar to remove all of the surface rust. This took awhile, about 1.5 hours off and on. With that complete, the only work left for the light bar was to paint it. I sprayed the light bar with 1 coat of self-etching primer, let it dry, sanded any imperfections, then another coat of self-etching primer for a consistent surface. Finally, I sprayed 3 light coats of satin black.

The PIAA lights would actually be installed a week after the bar was painted.