Up Staged.
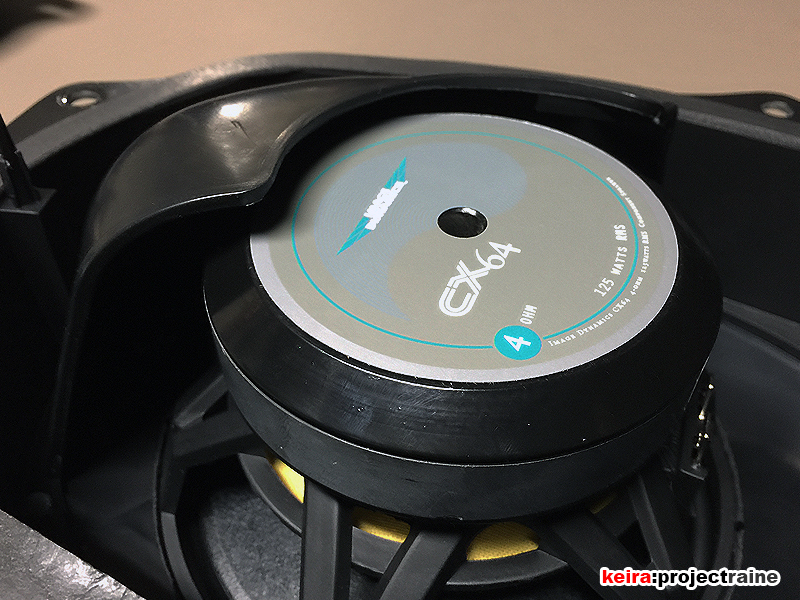
Yup – it was time to upgrade the main speakers. I had been researching main speakers off and on for about 4 months now (since I got the first Kicker subs), checking into a bunch of different brands and comparing specs and reviews and even listening to a few setups in friends/relatives vehicles. I ended up selecting a set of Image Dynamics CXS v.2 6.5″ 2-Way Components. With a 125w RMS rating, they matched up pretty good with my Alpine PDX-V9 amp’s main 4-channels of output. Also, I decided to put the bulk of my speaker budget for the front speakers since 95% of the time the music would be just for me, or me and a front passenger.
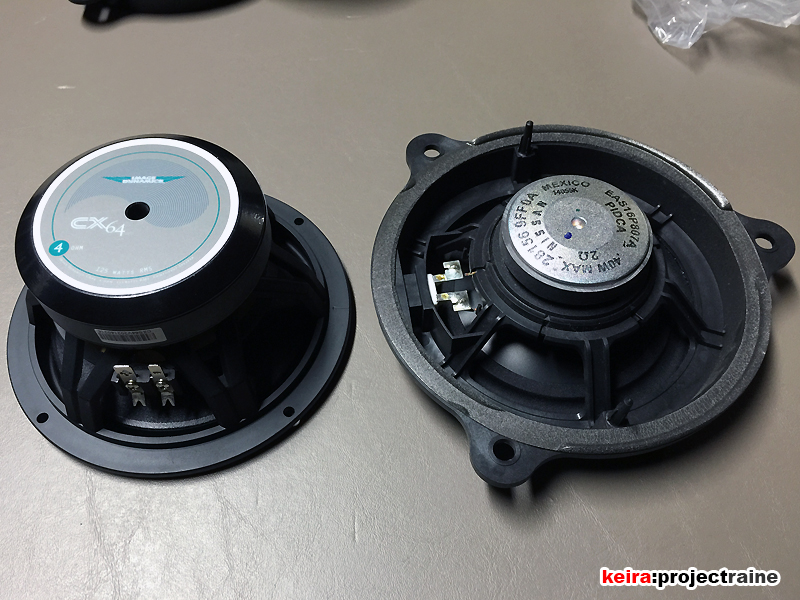
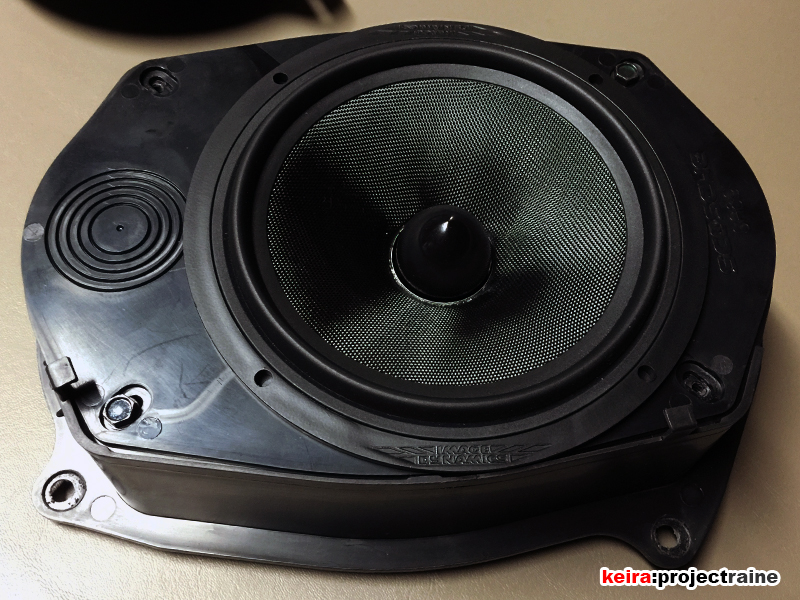
I began by removing the front door panels and pulling the stock front speakers and speaker mounts out. I was not surprised that the OEM speakers were nothing to be excited about, and when I compared them to the Image Dynamics drivers, there was a big difference for sure:

So I go and drop the speaker into the Scosche adaptor plate ($12) and it doesn’t fit. Then I realized that the adaptor plate was “5.25”/6.5” to 6×9”, which explained why the adaptor plate hole was only 5.25” from the factory. No problem, I pulled out my trusty Dremel and easily enlarged the hole to 6.5” in a matter of minutes.
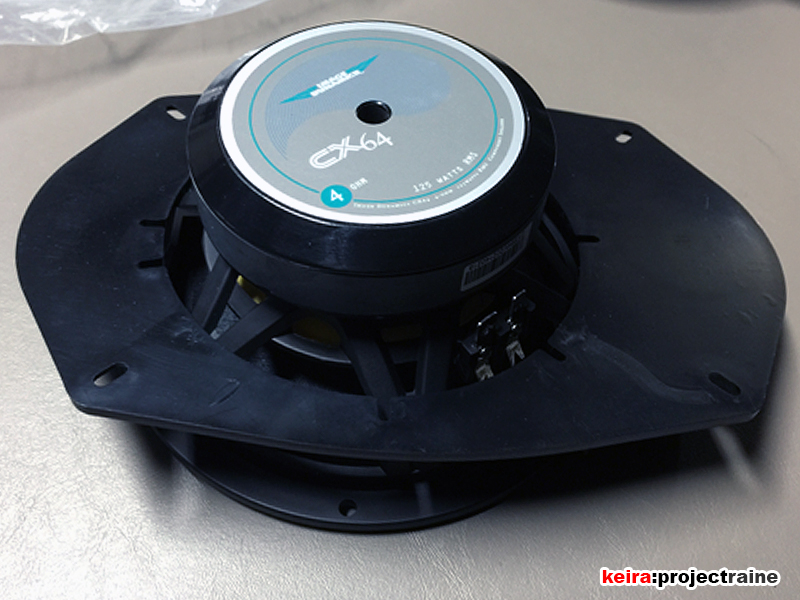
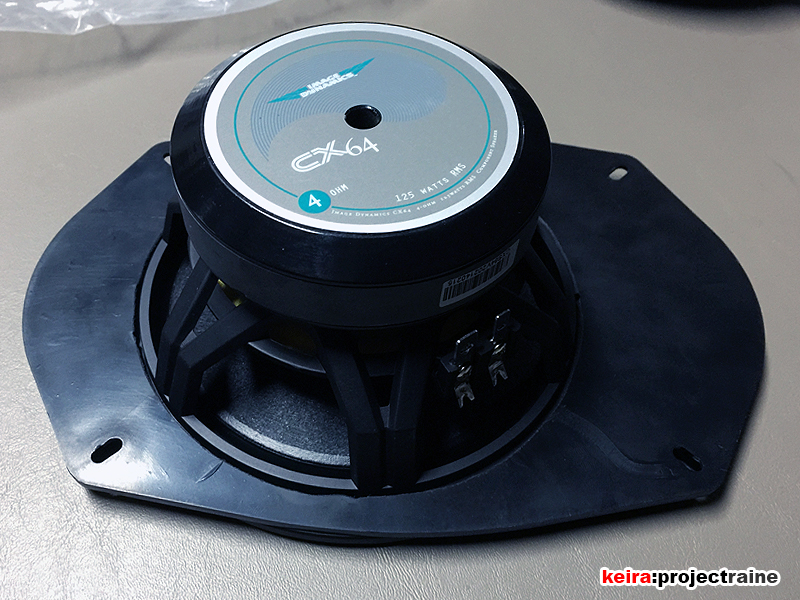
With the hole enlarged to 6.5”, the CX-64 driver dropped right in. I thought the large magnet would cause me to have to also trim the back of the OEM speaker housing (it has a curved part in the back that I presume is a “splash guard” to protect the speaker cone and magnet from any water or debris dropping through the window seam) but luckily the magnet was low enough to clear the back of the housing without and need for further trimming/modification. I soldered the new speakers to new 14-gauge speaker wire that I pre-installed during the Dynamat installation.
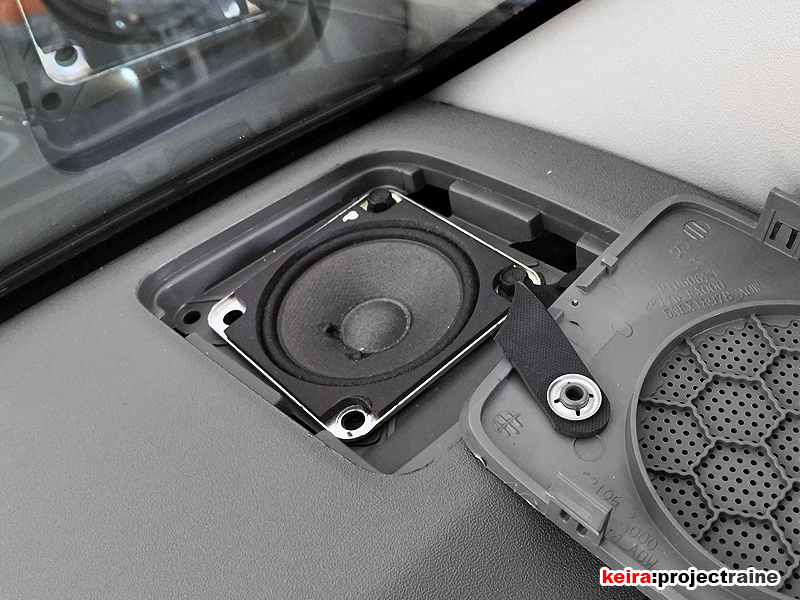
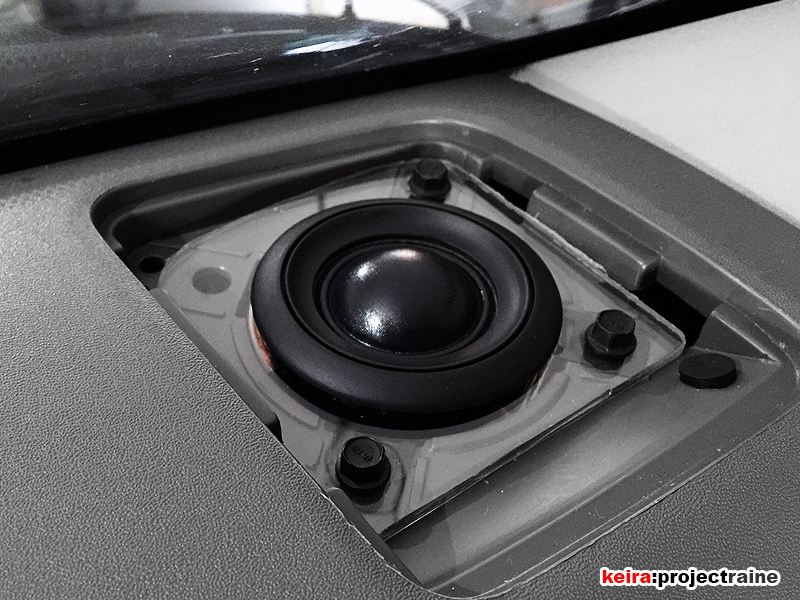
With the midranges out of the way, I turned to the XS-28 1-1/8” tweeters. The OEM 3.5” dash speaker was also as flimsy as the OEM full range in the doors, and had a built-in metal frame that bolted to the dashboard. I removed the stock speaker and ran thicker 14-gauge speaker wire first. The driver’s side was easy (you can see the path just by looking under the dash) but for the passenger side I used fish tape to snake the speaker wire down behind the HVAC components.
Next, I traced the metal frame of the stock speaker onto a piece of 1/8” thick clear Polycarbonate sheet. Thanks to my brother and his garage full of machinery and tools (he’s a hardcore home audio guy, makes his own speaker cabinets and stuff), he helped by cutting out the two mounting adapter plates. I used the flush mount ring to install the tweeters and then reused the factory hardware to attach the new tweeter plate to the dashboard. I had to use 1/8” Polycarbonate, as anything thicker wouldn’t give enough clearance to fit the tweeter underneath the shallow factory grille, and there was no bottom-mount option for the tweeters.

With the speakers in place, there was one last step – figuring out where to put the two large (about 3” x 4” x 2” WxLxH) passive crossovers. I was initially planning on hiding them somewhere under the dash until I realized that there was a perfect spot under the driver’s seat next to the Audio Control Epicenter, right on top of the rear vent duct.
To mount them I had my brother cut a square piece of 1/4″ MDF board and slid it under the floor carpet, above the plastic vent duct. With the crossovers bolted down, they basically sandwich the floor carpet, keeping them securely in place. Seeing how solid this mounting method was, another piece of MDF was cut for the Epicenter as well.


Initially I wired the crossovers to the Alpine amp in bridged mode, feeding 200-watts into each front channel. I did not do anything to the OEM rear speakers except turn them “off” by moving the fader all the way to front only. I tested the sound using a lot of different music with a wide range of instruments and vocals – everything from live percussion to Jazz to EDM to Metal and everything in between, and with the default crossover settings the CXS-64 combination was excellent! Granted I’m comparing directly to the OEM speakers, but the increase in clarity was obvious.
Needless to say, the sound quality was a huge step up from my factory speakers, and unlike the factory speakers I can crank the volume up now and the sound doesn’t get distorted at all. I did notice that some of the lower frequencies (mid bass) still seemed a little weak, and the highs were definitely better than but not as crisp as I was expecting. These traits were more obvious the more I turned the volume up, and I’m pretty sure it’s because of the limitations of the factory head unit. So for now the sound was better, and I was fine with the improvement so far, since I knew that the following weekend I would finally get another component that I pre-ordered 1 month prior to its release.
UPDATE 10.18.16: Front stage speakers replaced with Hertz Audio Hi-Energy HSK-165 6.5″ Components.