Recover Me.
Installing an aftermarket steel bumper isn’t for me (right now) for a few reasons:
- I like the front end of the Frontier, and I’m not too fond of the look of an aftermarket steel front bumper on it; there’s something about how the angular steel bumper lines don’t match with the round fenders that bothers me.
- Since I have the one-piece bumper, an aftermarket steel bumper won’t be a bolt-on affair since I’d have to permanently chop my bumper in half just for the upper trim piece.
- My truck is mainly a daily driver, so carrying around a heavy steel bumper all the time and losing some MPG isn’t practical at the moment.
When I read about the P&P Engineering Recovery Points on another thread, and I liked the idea. I used to want the European-sourced matching left side OEM tow hook, but I got a quote from a shop in Great Britain and they wanted $95 shipped – compare that price to the P&P Recovery Points which were $75 for a pair, shipped! I ordered direct from P&P, and I also ordered a pair of inexpensive 3/4” shackles used for fitment/testing during installation.
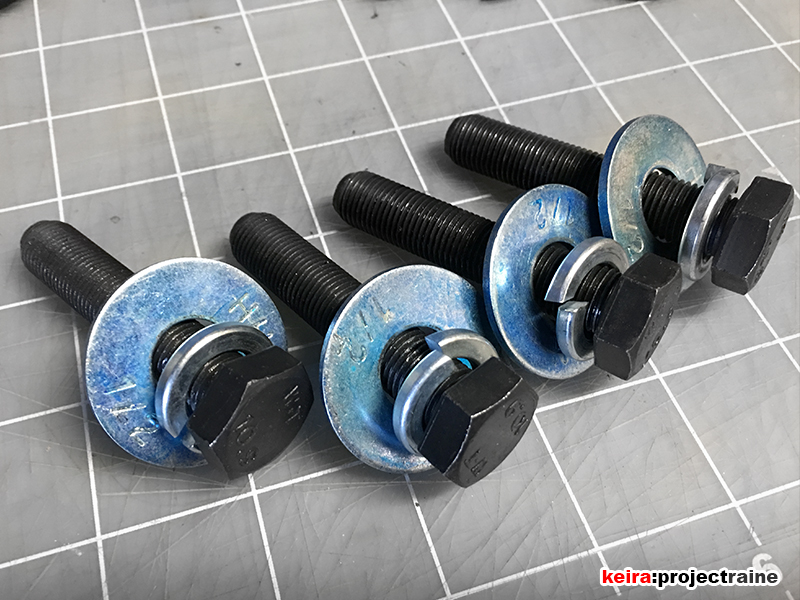
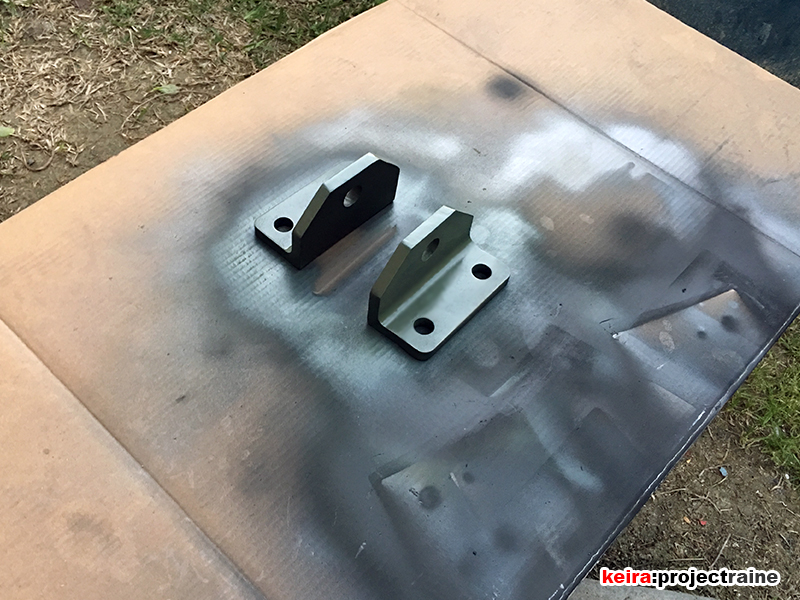
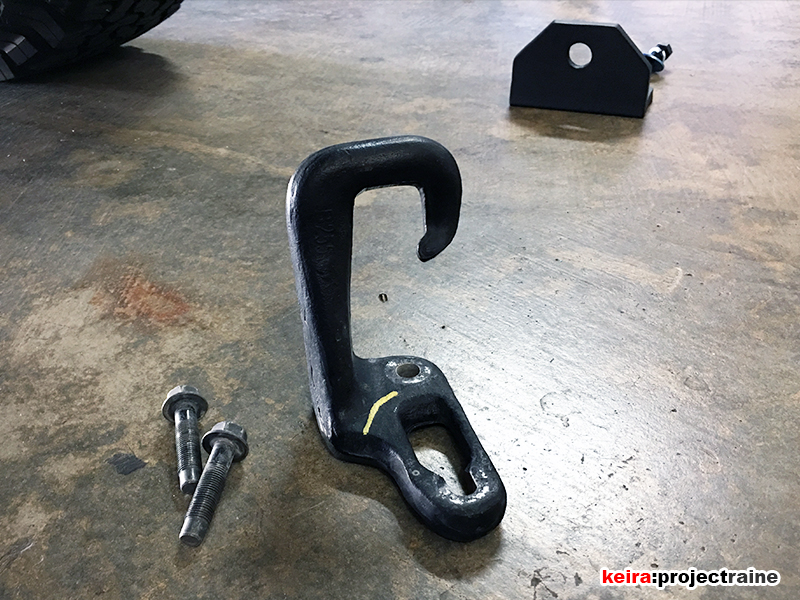
The parts arrived at my doorstep in 8 days – not bad. When I opened the box, There were two large chunks of metal and some nice looking hardware. The finished shape is decent; it’s not laser-cut perfect, but for $75 I wasn’t expecting a museum piece either. The included Class 10.9 hardware was a nice touch, the bolts are longer than the OEM tow hook bolts, and obviously they gave 2 pairs of hardware – which is good since there are no OEM bolts on the left side. Since I ordered the raw finish, first thing to do was paint; I went with a layer of metal etching primer followed by a few layers of satin black.

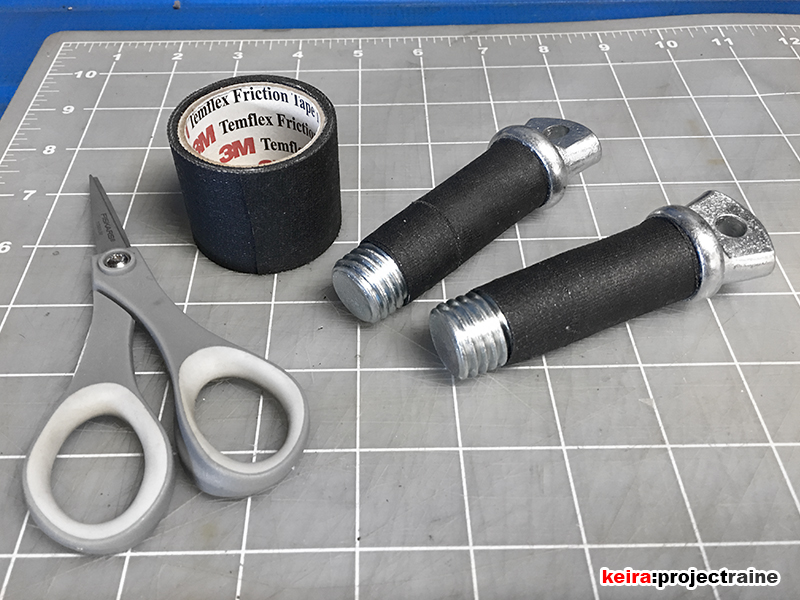
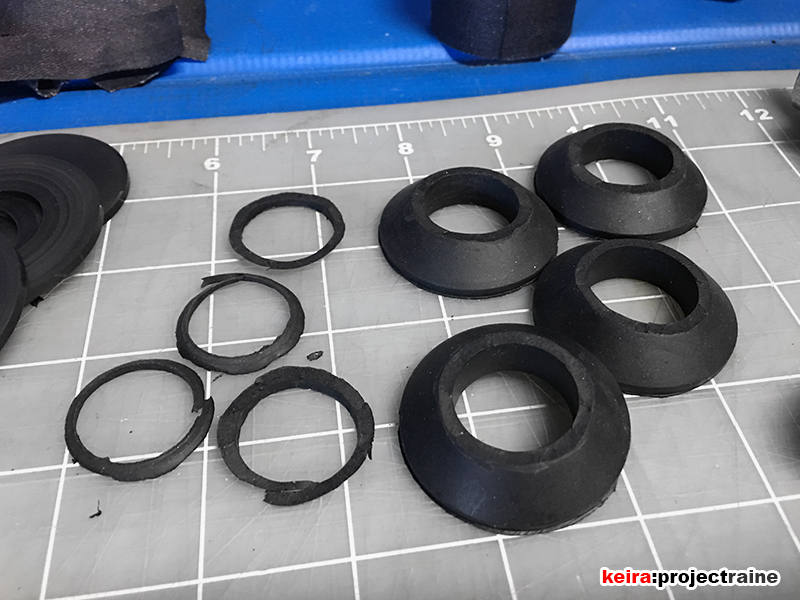
While waiting for paint to dry (one of the things I really, really can’t stand) I did some work with the shackles. I didn’t want to drive around making clanking noises over every bump, so I did some tricks I read about online. First, I put one layer of friction tape around the shackle bolts. Second, I trimmed some shackle isolators to get rid of any side-to-side shackle movement.
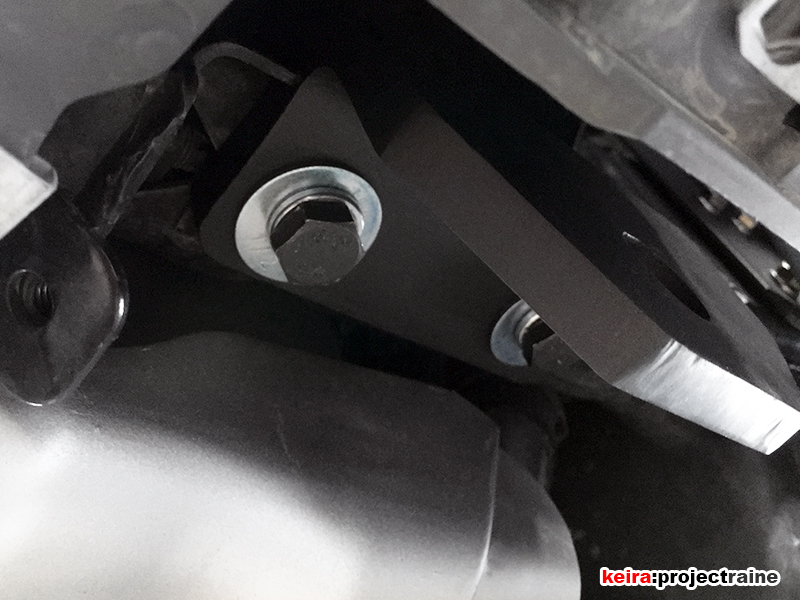
Installing the recovery points is pretty straightforward. On the right side, remove two bolts and the OEM tow hook is gone. The next step was simply to bolt the right side recovery point to the chassis using the included hardware.
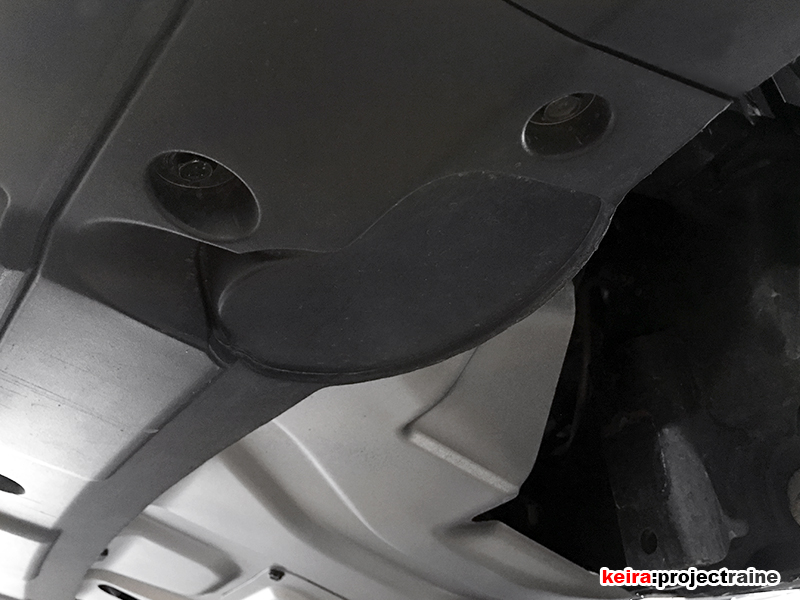
The left side wasn’t as simple; unlike the right side, the left side lower valance did not have the cutout for the OEM tow hook. However, the plastic piece had the same cutout shape molded in, so all I needed to do was trim the cutout using my trusty Dremel tool and a cutting wheel.


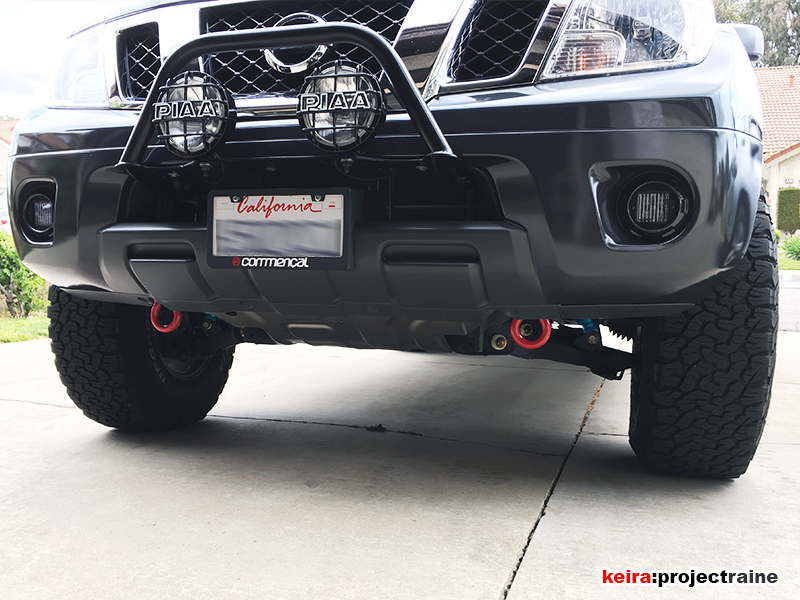
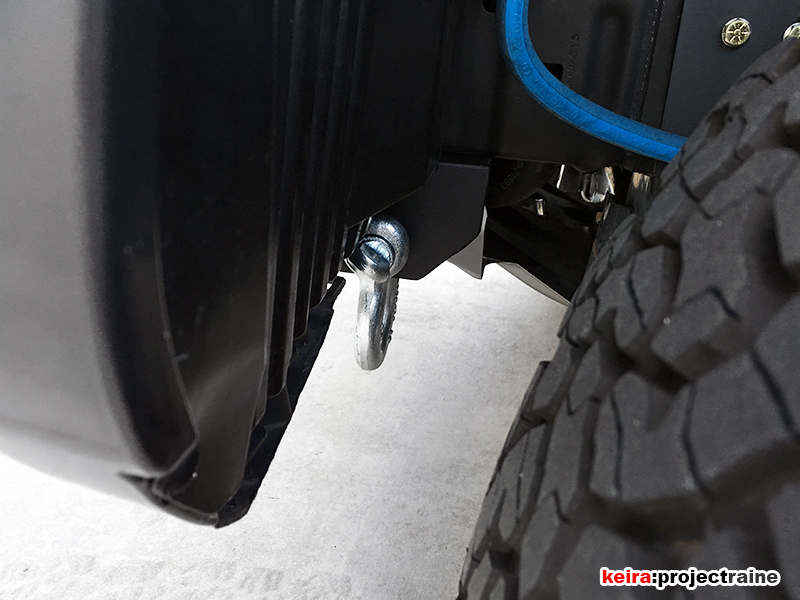
Here’s a couple of photos showing how low the shackles hang compared to the rest of the bumper:
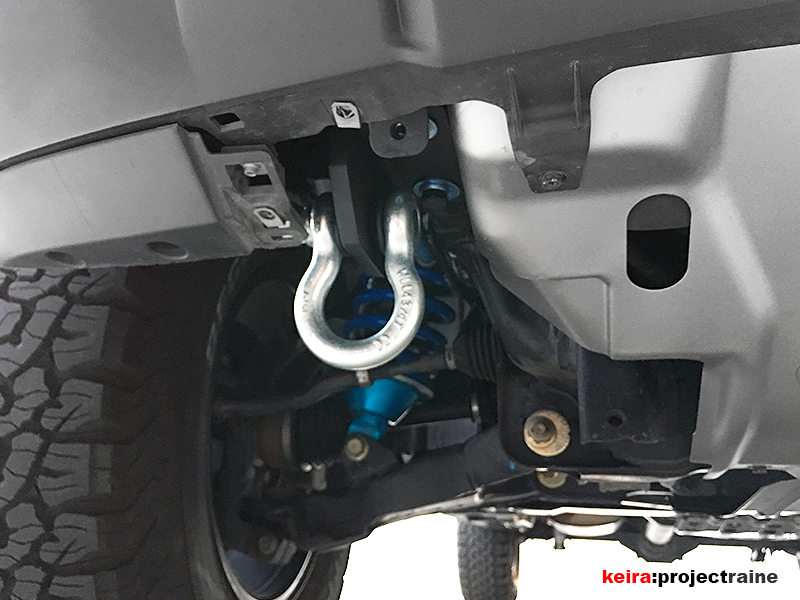

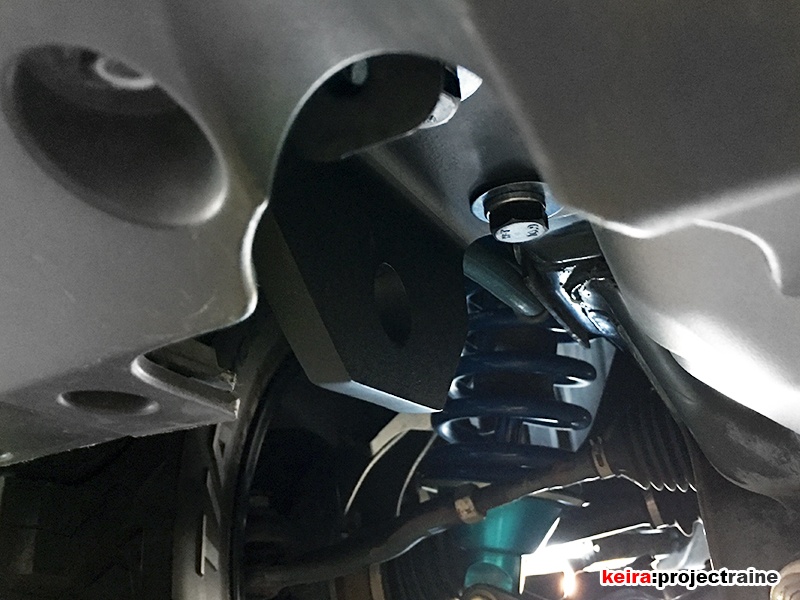
Here’s what it looks like looking in from the left side wheel well:
And finally, a front view after reinstalling the center valance piece:
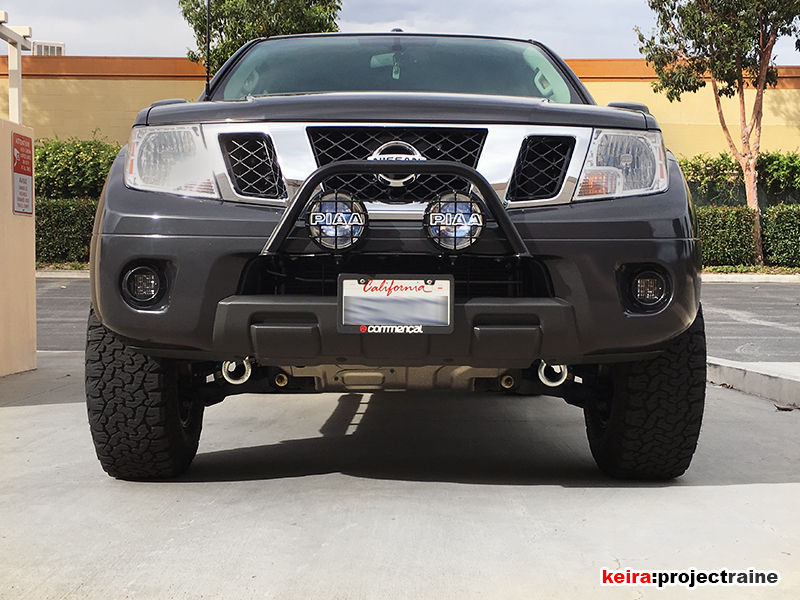
Before I did the actual install I was worried that the shackles would hang down too low, but I’m okay with the positioning. However you can see in the photo above that the “gap” in the lower valance for the OEM tow hook is offset and not wide enough in relation to the new shackle positions. I have to trim a little more off the center valance in order to give the shackles more clearance and allow them to rotate all the way forward to at least 90-degree horizontal (in case I actually have to use them for recovery). I’ll probably tackle this after I take delivery of a pair of genuine Crosby shackles. Side note: The no-name shackles I used here will stay on the truck during daily driving. I figure if someone shady decides to steal the shackles, they can take the no-name ones, I’ll only install the Crosby shackles when I actually need to use them .