Radio Permanente
At the end of my iPad custom mounting post, I said, “…as soon as I finished this mod, I saw this and the gears started turning again:
…but we’ll save this idea for another day.” Well, today is that day LOL
After the last mod and having time to dwell on it, I realized that I wasn’t quite happy with the end result. It’s not that there was anything functionally wrong with the setup, but it was cumbersome. So I thought about how I could further revise and (hopefully) streamline my off-road comms, and I came up with some targets for the revision:
- A more “permanent” GMRS radio would probably be better, for fewer things to bring in and out of the vehicle;
- If I get an FCC Part 95 type certified GMRS unit, then I’ll be legally using GMRS (along with my valid GMRS license);
- Stick with the “hidden” theme, for less outside attention;
- Quicker setup, less steps to get the GMRS on and ready;
- Somehow bring the iPad mount even closer to the driver’s side of the vehicle.
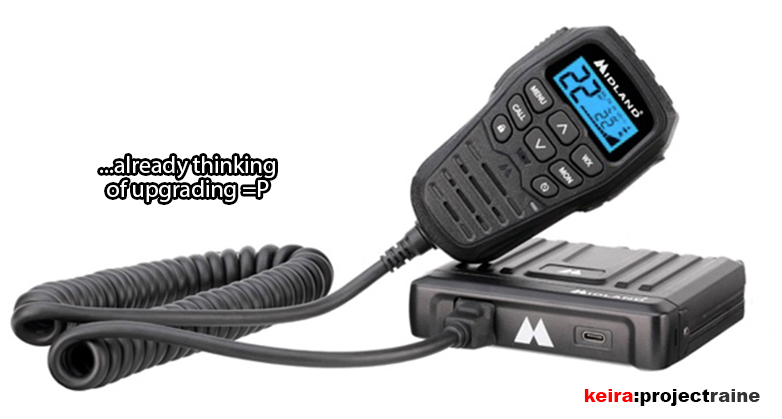
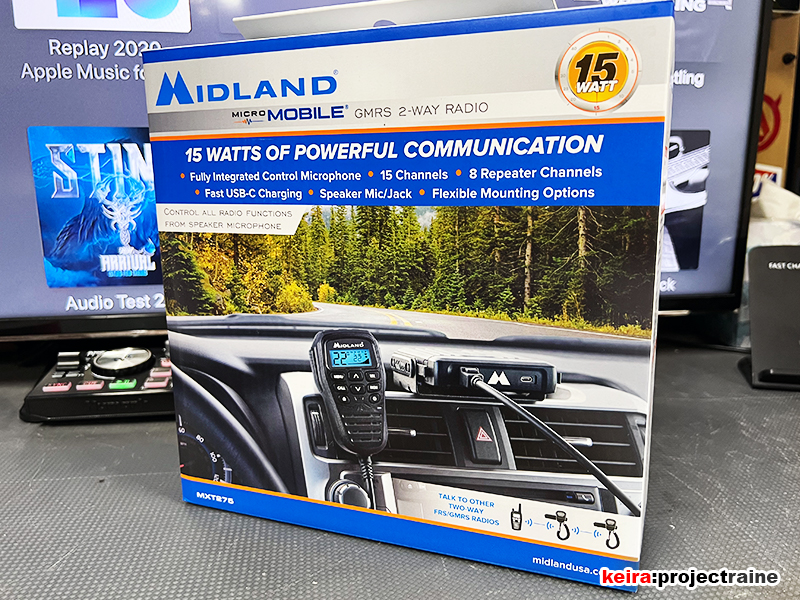
After looking at what was available and watching a lot of product reviews, I decided that the Midland MXT275 GMRS 2-way Radio had the right combination of features I needed. Thanks to some excellent CSI on the Internet, I came across a 25% coupon code that was still valid for use on the Midland USA’s online store, so I took full advantage of the situation and within 4 days this showed up on my doorstep:
First good feature: I bought the updated version with a USB-C port, as opposed to the older USB-A port; this meant that I could power my iPad Pro directly from the Midland unit instead of the current USB-C cable that I have running all the way to the USB charger in my center console. Second good feature: all of the radio’s controls (including the power button) are on the handheld mic itself. Third good feature: I can mount the main radio unit somewhere hidden and not have to worry about direct access. Fourth good feature: The detachable radio mic uses a standard CAT-5 connector… which gave me another custom add-on idea for the install (more on this later).
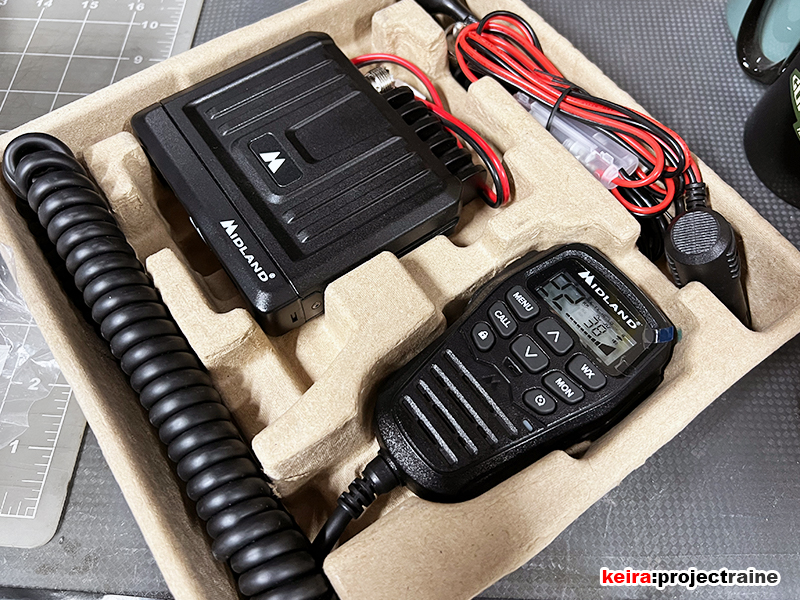
Here’s the radio bits out of the box, the main unit is nice and compact:
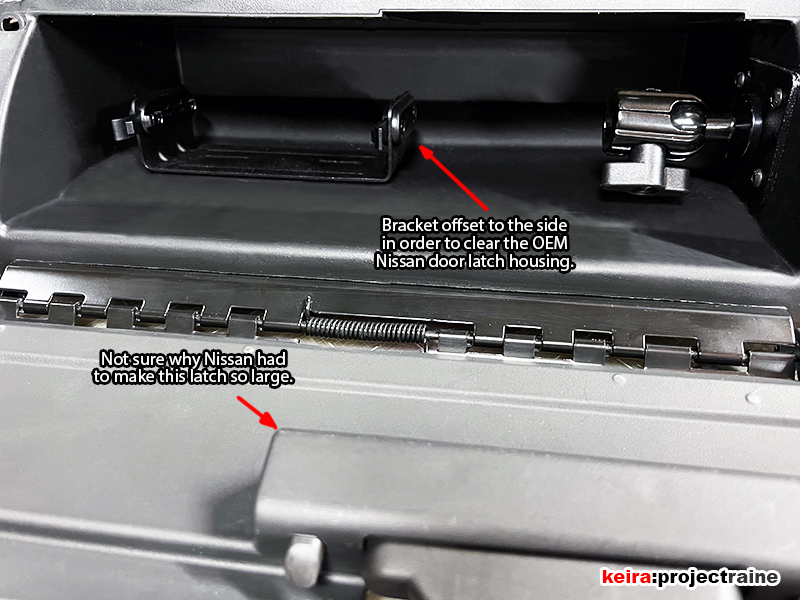
…and it’s installation time. I removed the center mounting arm (no longer needed since the iPad mount would go onto the left-side arm) and in its place, I installed the MXT275’s quick-release bracket (note: photo below shows the glove box upside down):
Next, I ran the cables out of the rear of the upper glove box through an access hole I cut in the rear-corner:

…and in less than 30 minutes (including cutting some strategically-shaped foam pieces to use as trim) I had the main radio unit installed. Here you can also see the 90-degree CAT-5 extension cable I used on the left-side port, and the USB-C plug on the right-side that will provide direct power to my iPad Pro:

That 90-degree CAT-5 extension cable leads… to the next mod, which will be in the next post =)